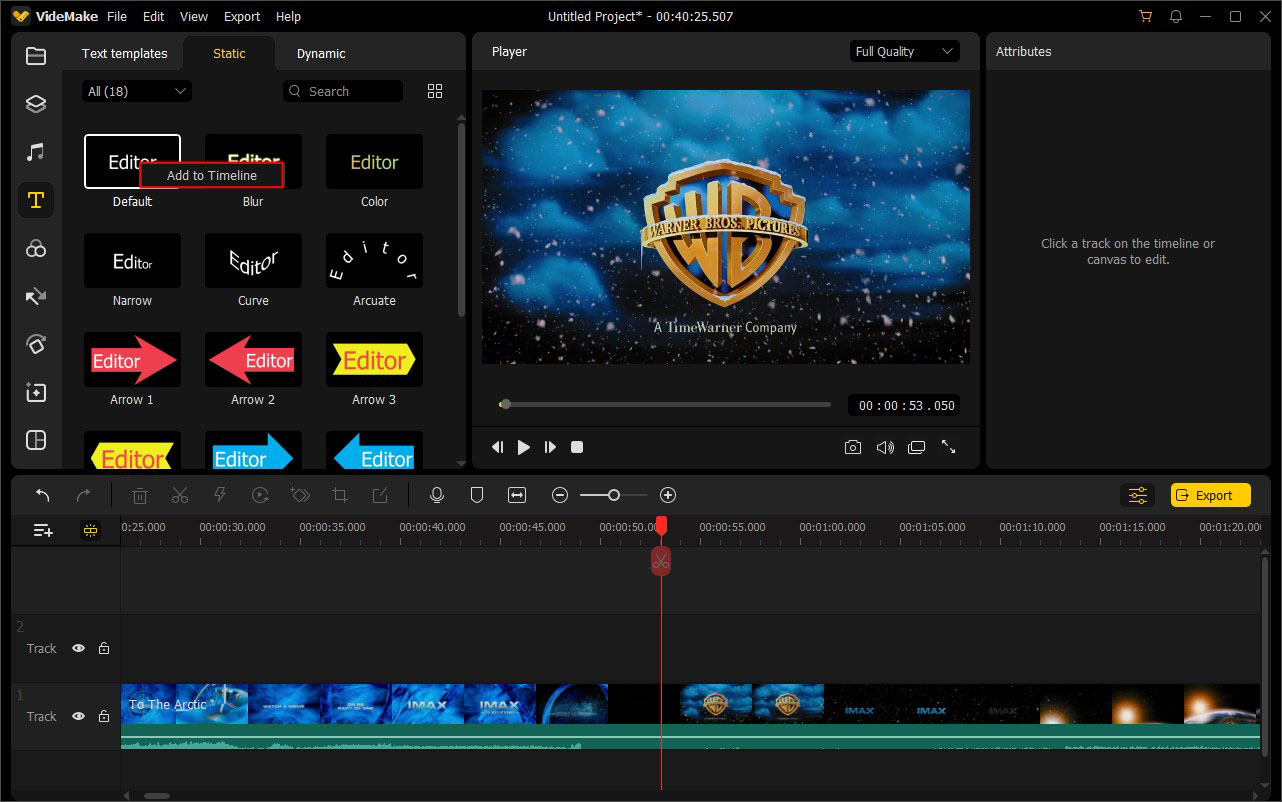
On the left sidebar, click the Text icon, you'll see two types of texts – Static and Dynamic. Choose any text you like, and then drag and drop it to the timeline. Or you can right click on the text in the Media Library and choose the Add to Timeline option.
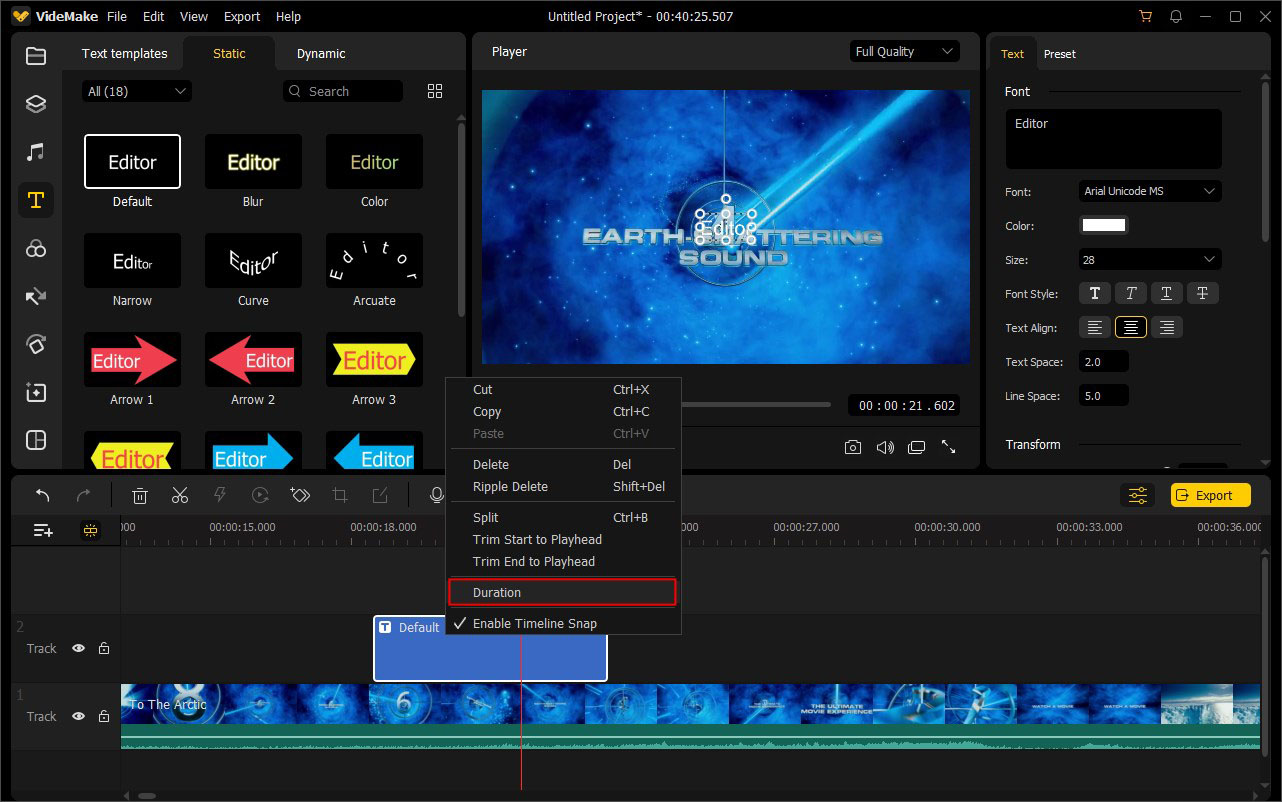
After adding a text effect to the timeline, it has a default duration of 5 seconds. You can drag the edges of the text in the timeline to extend or shorten its duration. Alternatively, you can right click on the text and select Duration. Set a new duration manually.
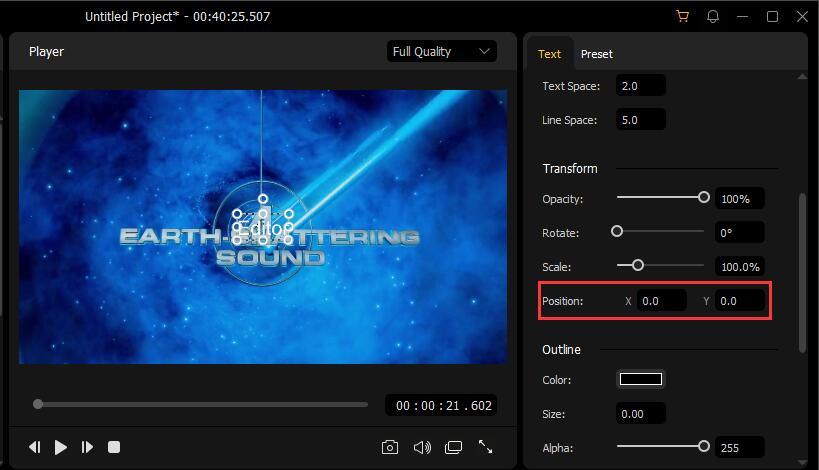
You're allowed to put the text anywhere you like. To resize the text, drag the circles at the edge or enter the numeric value in the Position section under the Text tab at the upper right panel.
In the Text tab under Edit Window, you can change the style of text effects, including font, color, size, font style, text space, etc.
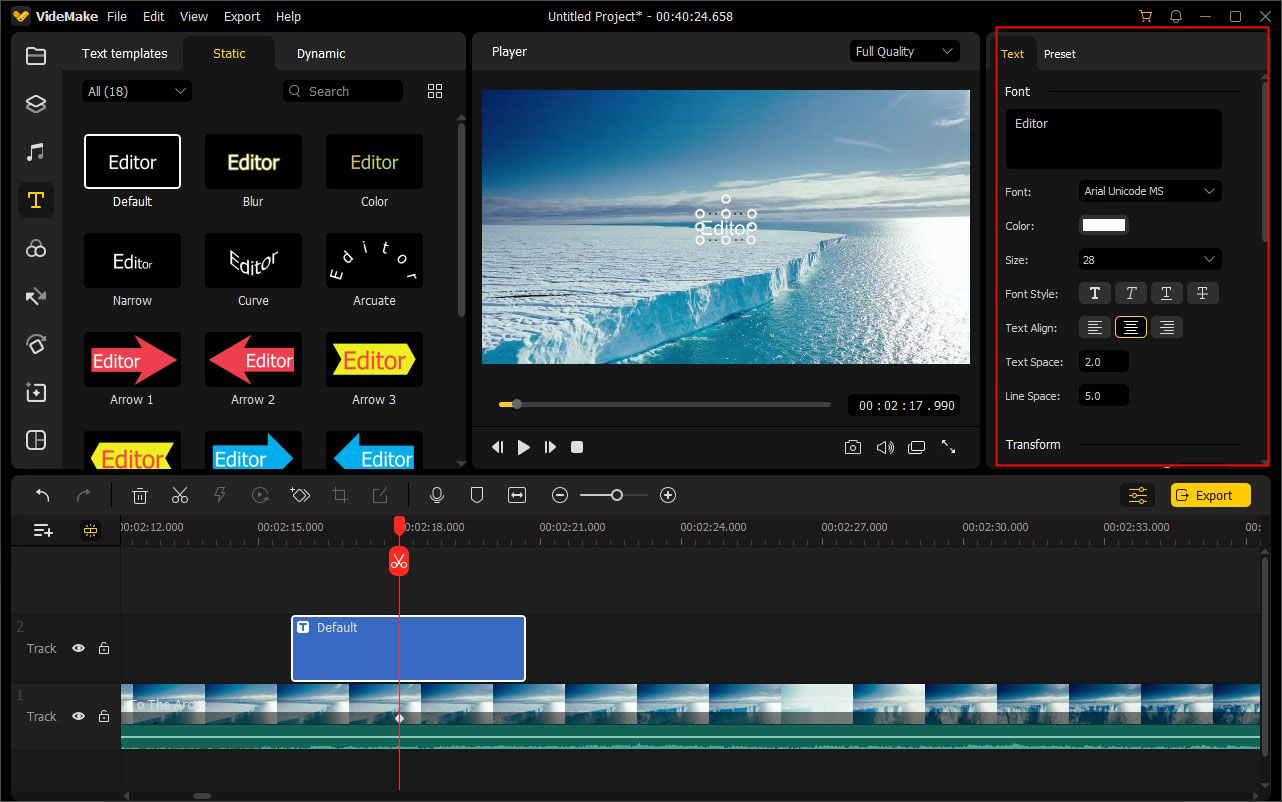
To change the text content, you can simply remove the default Editor and enter any word you like. Then choose any font from the dropdown list. You can also make the text bold or italic, underline, or strike out it.
To change the color of the text, you can click on the color panel. Select your favorite from basic colors, or customize the color as you like. To adjust the size of text, you can select one from the dropdown list or enter a specific one manually.
There are 35+ dynamic text presets available in VideMake. Switch to the Dynamic tab in the Media Library, and you'll find all of them.
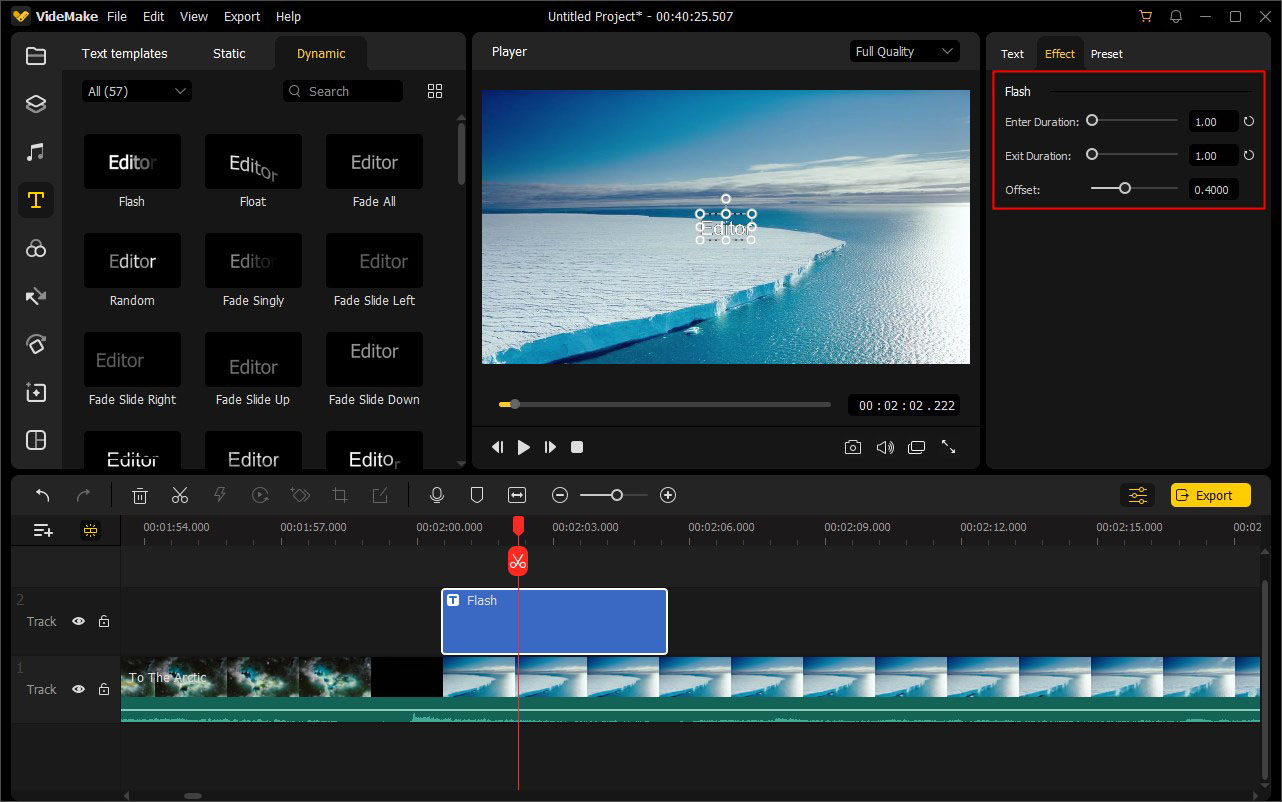
After dragging the target one to the timeline, you can start to edit it. The basic editing methods are the same as that of Static text. The difference is you can set the enter or exit duration of the animation. At the upper right panel, choose the Effect tab and move the slider to set the duration.
