There are many filters in the VideMake that you can use to make your video more engaging.
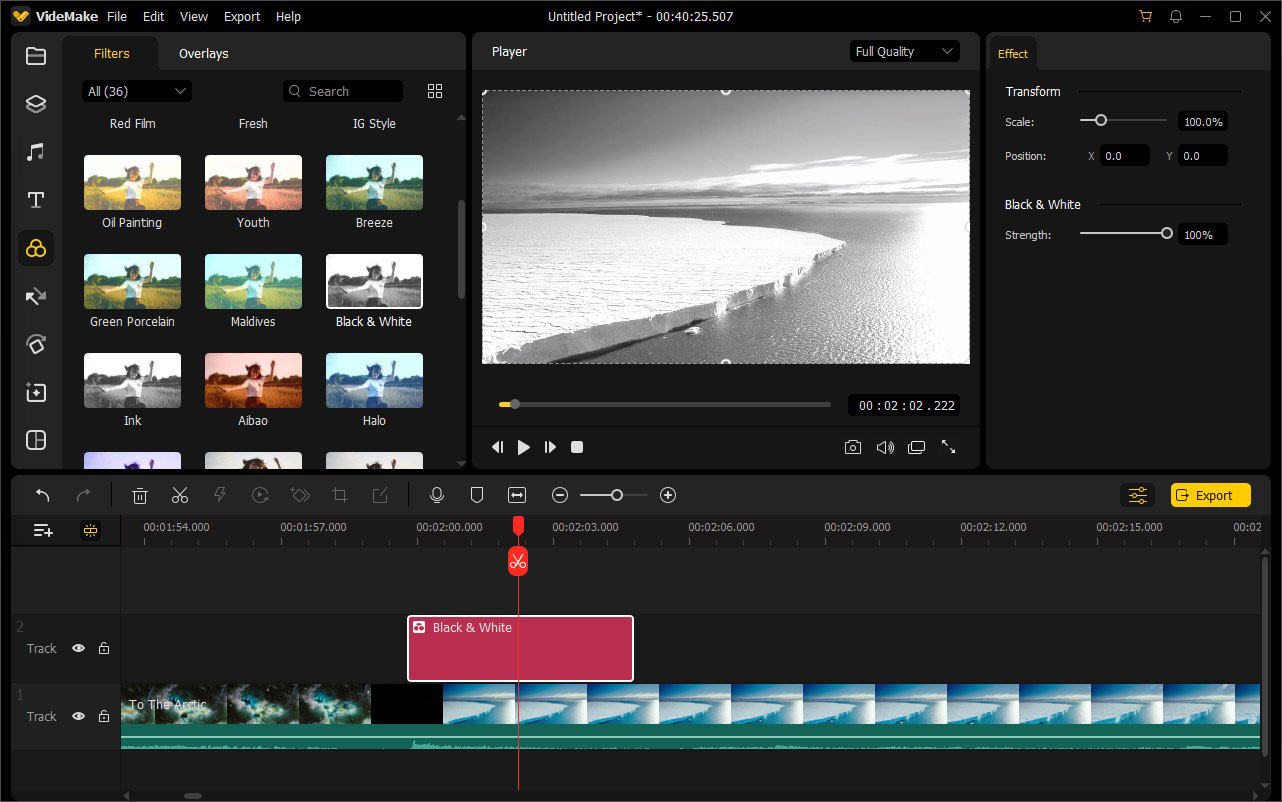
To add filters/overlays to a video clip, you can click on the Effects option ![]() on the left sidebar. Select one filter or overlay from the presets and drag it onto the video in the timeline.
on the left sidebar. Select one filter or overlay from the presets and drag it onto the video in the timeline.
To remove filters or overlays from your project, you have three ways.
First, you can click on the filter or overlay and press the Delete icon ![]() in the toolbar.
in the toolbar.
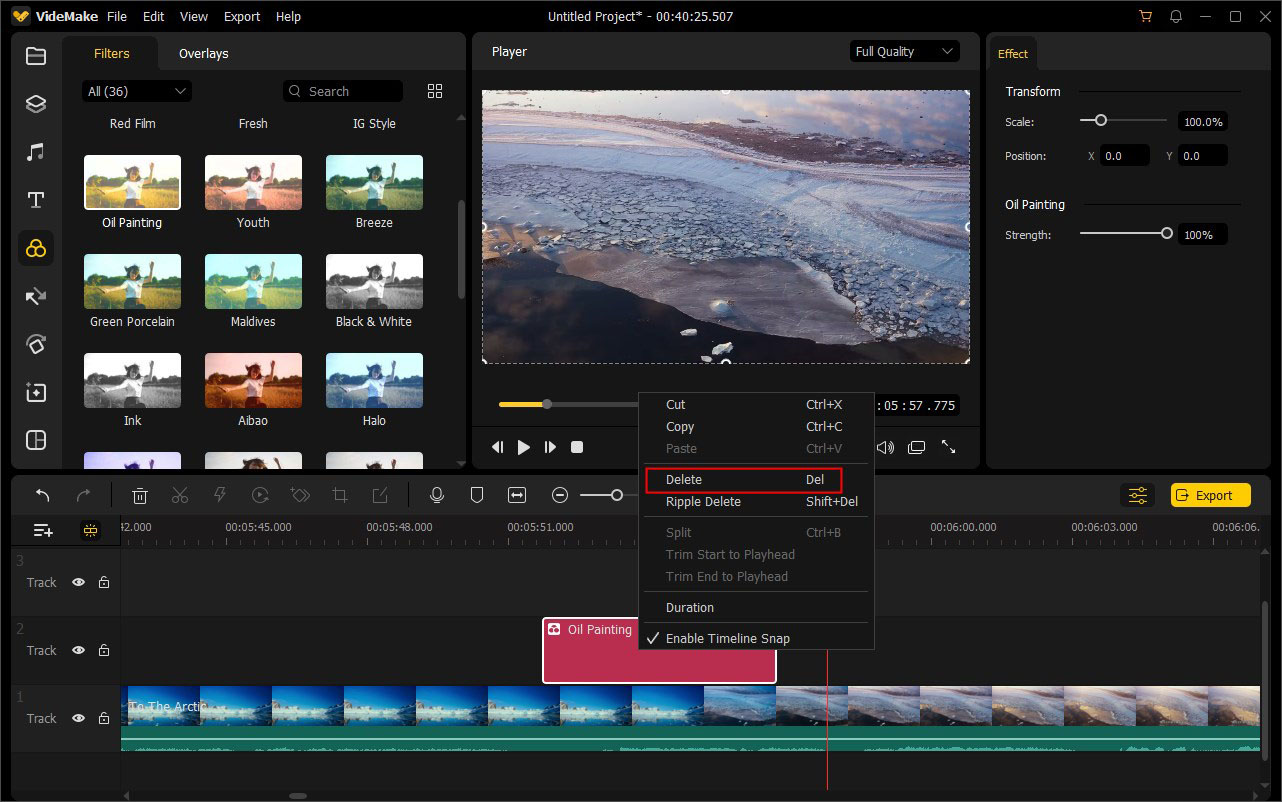
Second, right click on the filter/overlay in the timeline and choose the Delete option.

Third, click on the filter/overlay you want to remove and hit the Delete button on your keyboard.
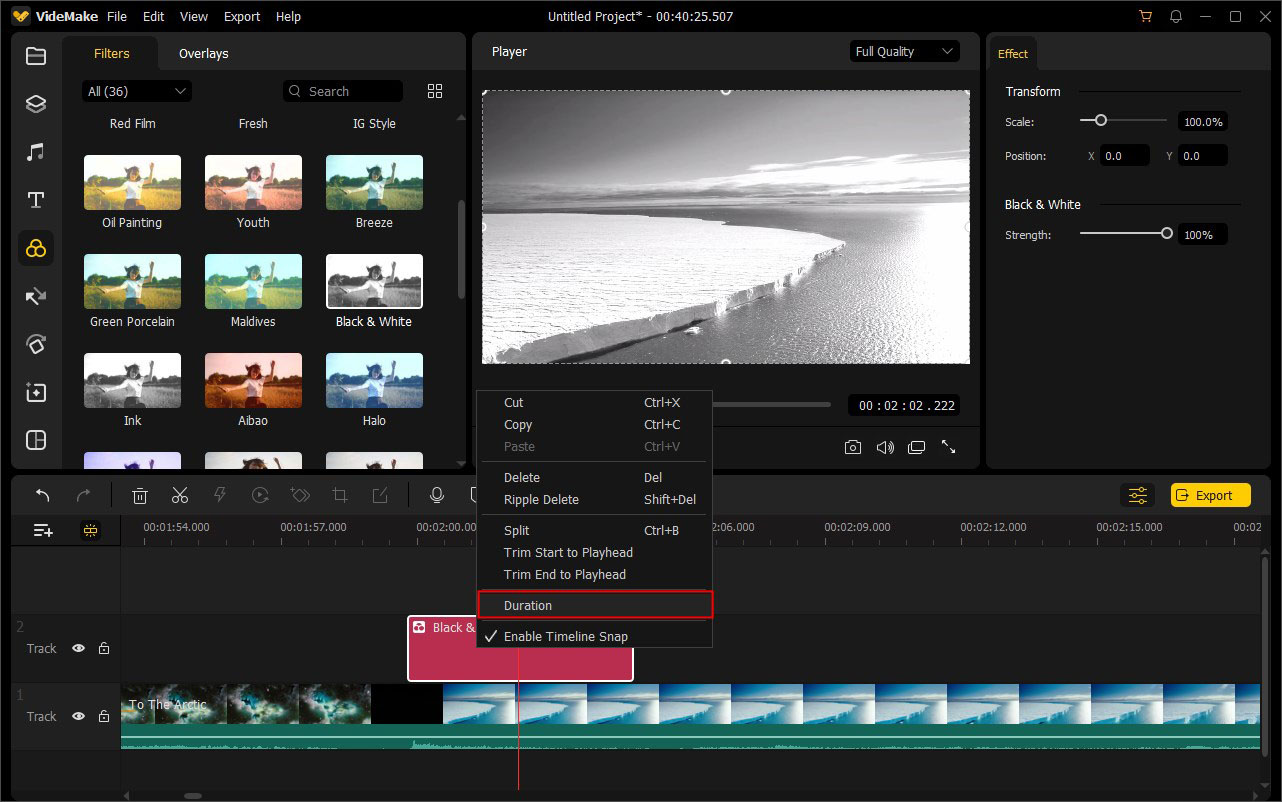
Once the filter or overlay is applied, its length is 5 seconds by default. To extend or shorten its duration, you can drag its edge in the timeline. Or right click on the filter/overlay effect, and choose Duration from the menu. Enter the duration for the effect as you like.

To customize the opacity of filter/overlay effects, you can click on the filter or overlay in the timeline and press the Properties icon ![]() . Under the Image tab, move the slider to change the transparency from 100 to 0.
. Under the Image tab, move the slider to change the transparency from 100 to 0.

In the Edit Window of your filter/overlay attribute, you're also allowed to adjust the color of the effect. Switch to the Color tab, and drag the slider to adjust the Brightness, Saturation, Contrast, and Hue until you're happy with it.