
YouTube is a great place to upload videos and share funny moments and creative ideas. If you're a music lover, chances are that you may only want to upload the audio file on YouTube. Whether it's a demo, a song or an album, it's a great way to promote your works and gain popularity by uploading them on YouTube. But unfortunately, YouTube only supports video file, which makes it less friendly to audio creators. But there're workarounds.
Following in the upcoming parts, you'll learn how to upload audio files to YouTube with the solutions below.
- Part 1. Easiest Way to Upload Audio to YouTube
- Part 2. How to Upload Audio on YouTube Using Online Tool
- Part 3. Conclusion
Part 1. Easiest Way to Upload Audio to YouTube
Since YouTube only supports video formats such as MOV, MPEG4, MP4, AVI, WMV and 3GPP, you can't directly upload audio files on YouTube. The best way is to make your audio into video. With VideMake Video Editor, you can directly import your audio file and edit it within the software. After the editing, export your project as a video file, so that you can upload it on YouTube.
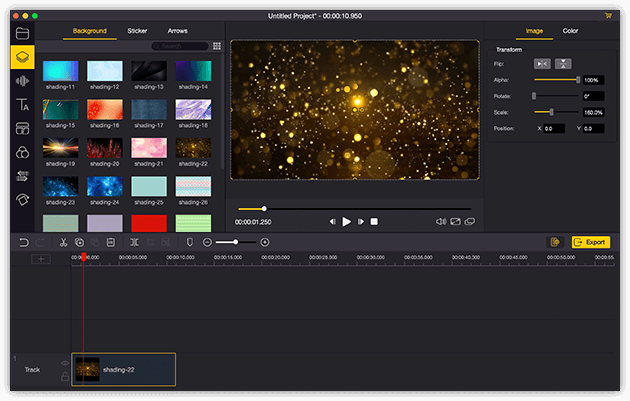
VideMake Video Editor is a powerful video editor that provides multiple effects and transitions. It comes with a screen recorder which can record images as well as the sound coming out of your computer. As a well-established video editor, VideMake is mounted with features like split screen, filters, animations, texts, and music library. The user-friendly interface comes with all the effects and tools you need to embellish your video. You can also import an audio file and make it into a video.

VideMake Video Editor
Security Verified. 5,481,347 people have downloaded it.
- Record your screen with high quality
- Create and edit YouTube videos with ease
- Provide basic and advanced editing features
- A lot of flexible output options including YouTube
- User-friendly interface and clear navigation
Next up, I'm going to show you how to make your audio into video in VideMake Video Editor and upload the video on YouTube. Before you edit your video, make sure that you have already installed VideMake Video Editor on your computer.
Adding Media Files

Open the video editor by clicking its icon from the desktop. You will notice two options in the window: import and record. If you already have the audio file, click import to upload it on VideMake.
Editing Your Audio
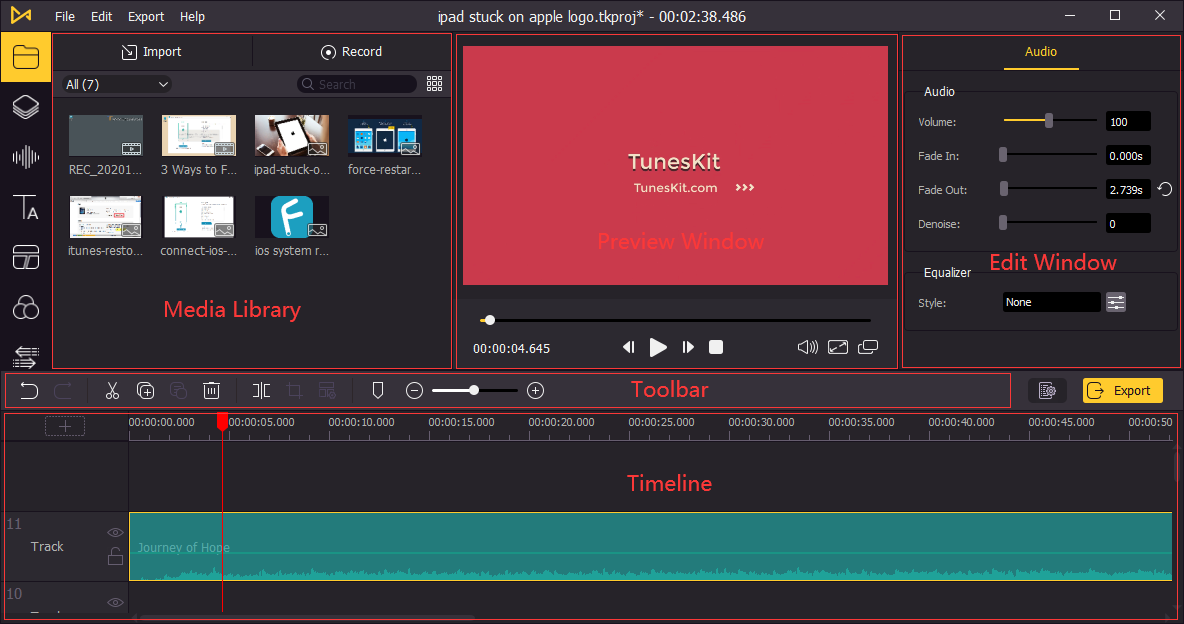
The VideMake interface helps you edit video, audio, images, audio, text, and more. Drag your audio onto the timeline first. Since we want to make a video to upload on YouTubes, it'd be better to add some visual elements to it.
You can browse the elements box and choose the resources such as background, stickers, and arrows to the timeline. Or you can add your own cover of the music.
On the left toolbar, you can also find features like text, filters, transitions and animations, you can make use of them as needed. If you have more than one clips to be shown on-screen at a time, you can use the split-screen feature to put them together.
Export as A Video File
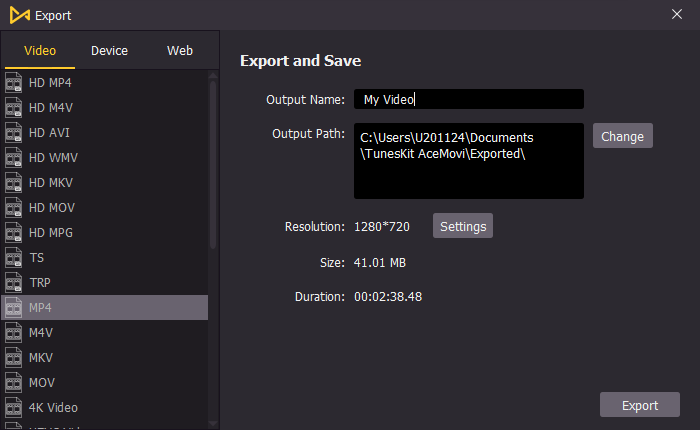
After the eidting, you can save the project to the computer by clicking the "Export" button. You can save it locally to the computer or other devices such as Android phones, Apple TV, iPhone, iPod, Xbox, and more.
You can select the file format from the export window, such as MP4, AVI, MPEG, 3GP, MOV, and more. You can further alter the video quality, name, codec, resolution, bit rate, frame rate, and so on.
Upload the Video on YouTube
Now that you learned how to make a YouTube video for your channel. Here're the steps:
Step 1: Open www.youtube.com on your computer using the preferred browser and sign in with your account. Click the camera icon ![]() at the upper right corner present next to the profile picture. You will navigate to the YouTube Studio page with the "Upload video" button appearing at the center.
at the upper right corner present next to the profile picture. You will navigate to the YouTube Studio page with the "Upload video" button appearing at the center.
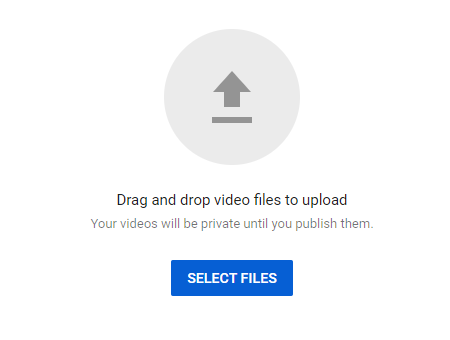
Step 2: You have used the VideMake YouTube video maker to create the videos. You can click the "SELECT FILES" button and browse to the files saved using the software for upload or drag and drop them in the window.
Step 3: Fill in the title and description of your video. Then add a thumbnail to your video, click next to go on.
Step 4: Add more elements to your video such as end screen and cards.
Step 5: Choose the visibility level. You can schedule a date to make the video public. After that, click the "Save" button at the bottom to publish the video to your YouTube channel.
Part 2. How to Upload Audio on YouTube Using Online Tool
Audioship is an online tool that allows users to upload audio to youtube by adding an image or background to the audio to make it as a video. You can upload multiple audio files at once to save time.
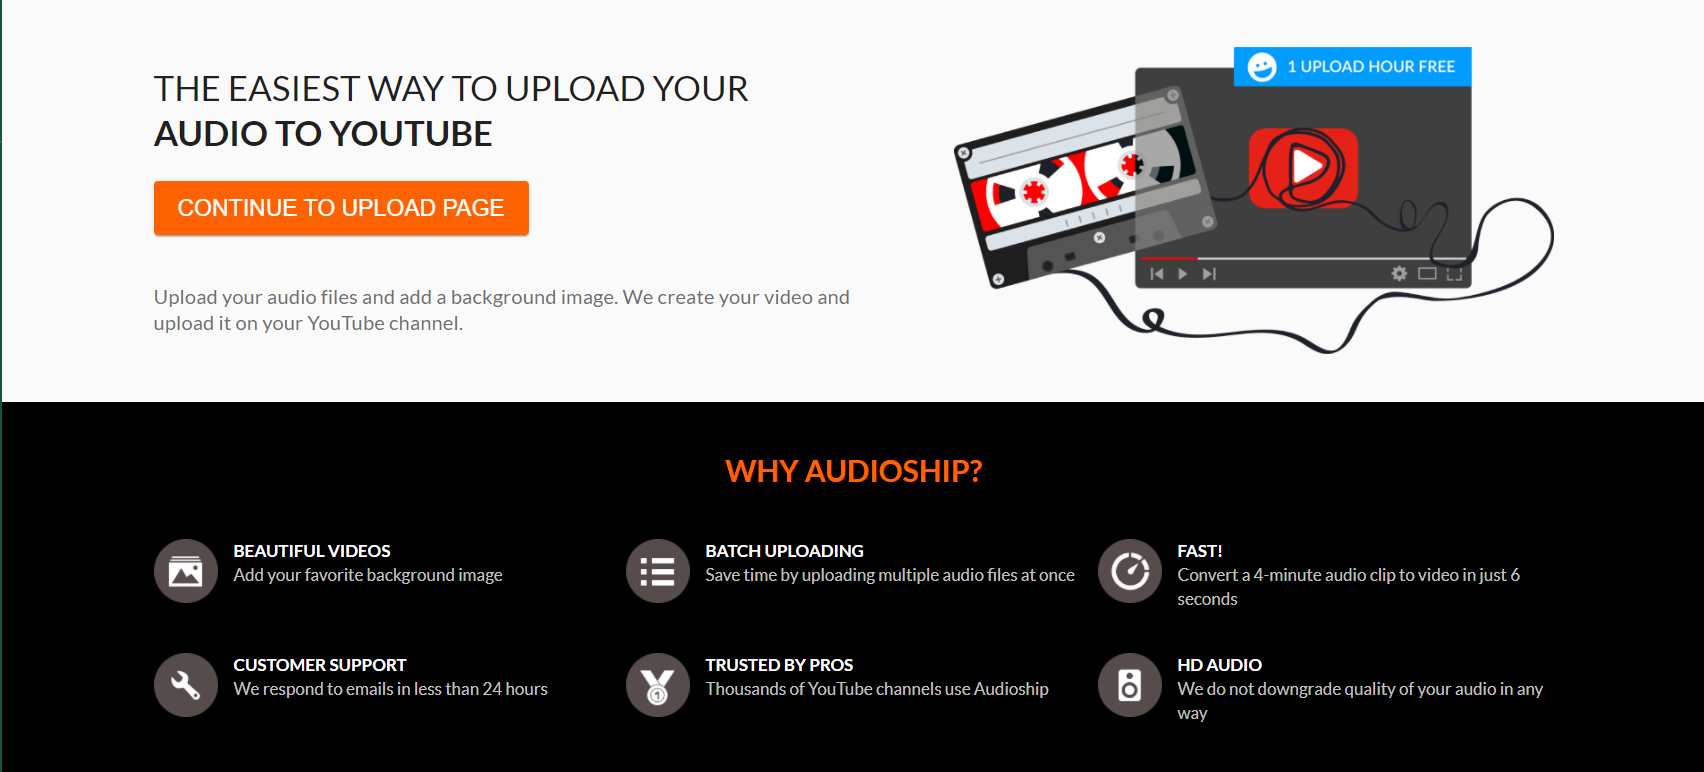
Here's how to upload audio to YouTube via Audioship:
Step 1: Log in to Audioship using your Google account.
Step 2: Upload your audio file.
Step 3: Pick the image you want as the background of your video.
Step 4: Edit the metadata of your video.
Step 5: Publish the video to your YouTube channel.
*Note: This tool requires you to log in to your Google account and access to your YouTube videos.
Part 3. Conclusion
It's not a tough task to upload audio on YouTube, you can easily make it with VideMake Video Editor and in online tools like Audioship. But for security reasons, VideMake is more preferable because it won't require any information from your Google account. You can turn the audio to video completely offline. Download VideMake with the button down below and start making your audio become a hit on YouTube right away.

